Comic Storyboard Creator
A professional guide to comic storyboarding: learn how to break down scripts into panel beats, control reading flow, allocate lettering space, and direct visual pacing.
Free download · 4.9 MB11 editable slides · PowerPoint format
Download the editable PPTX
PPTX · 4.9 MB · 11 editable slides · Free to edit and reuse with attribution to Yiha.ai
View every slide
Use ← →, Home/End, or swipe on mobile
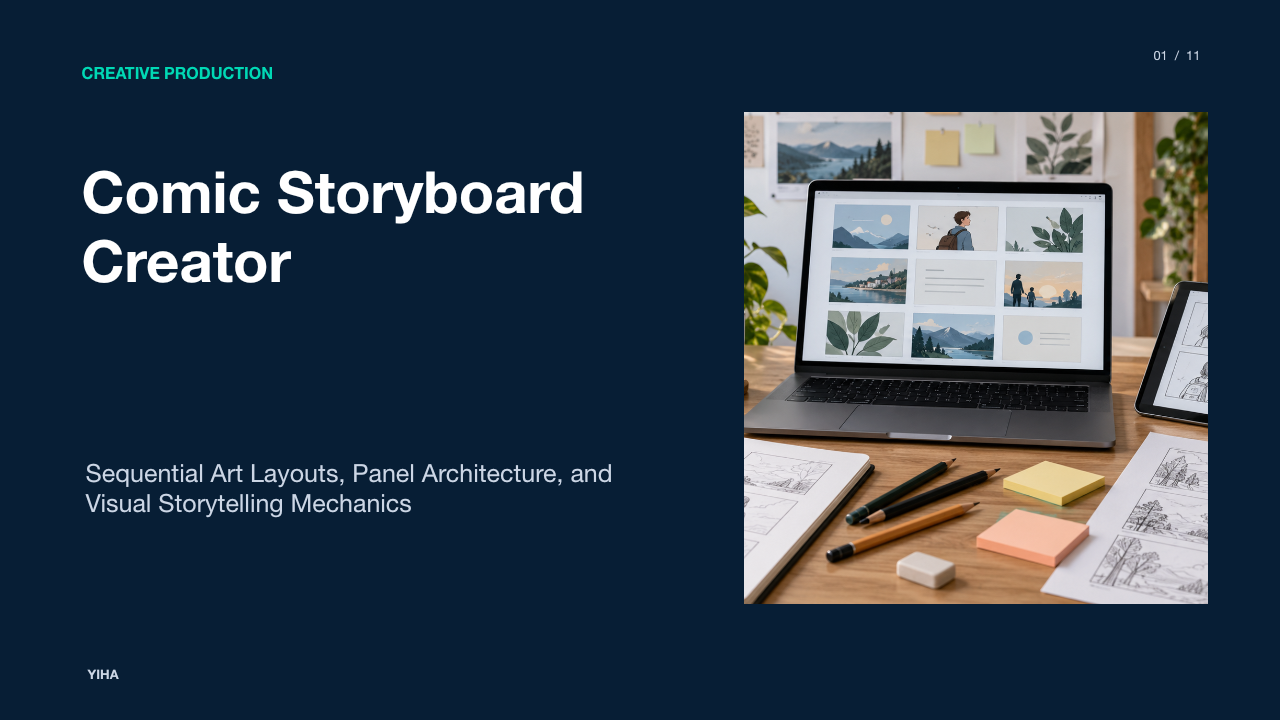
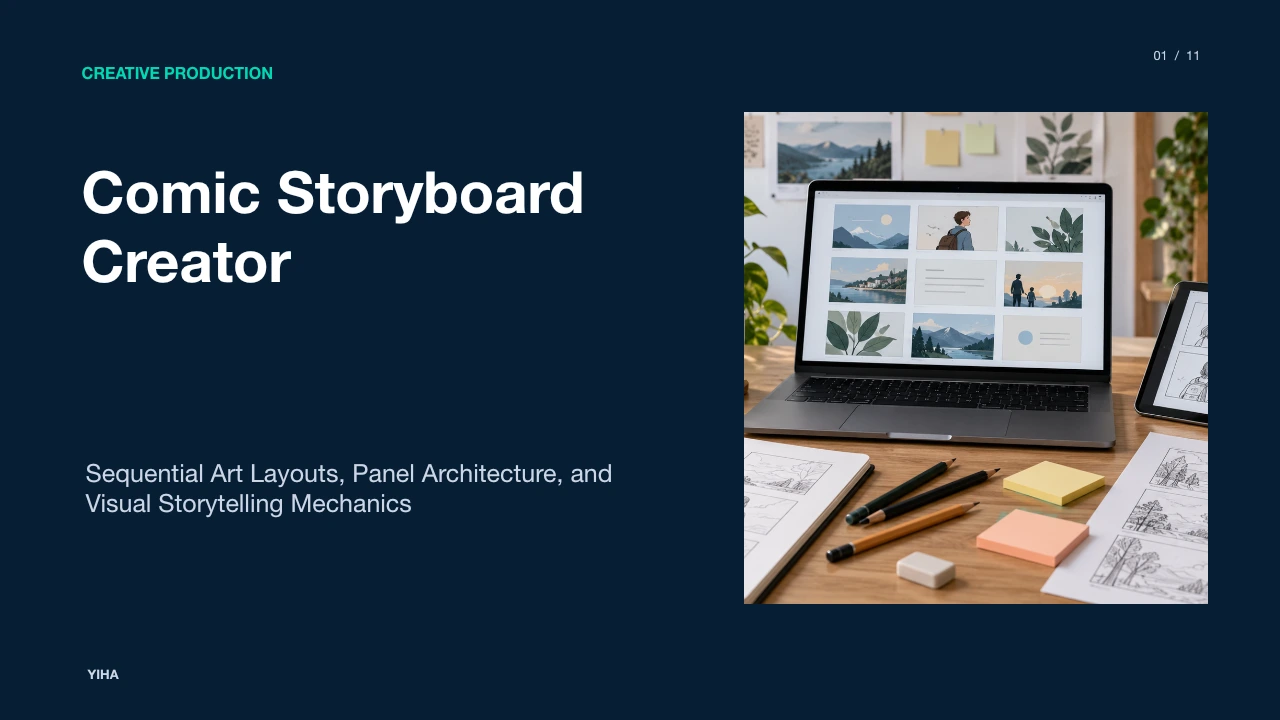
Storyboarding is the structural foundation of sequential art. Before an illustrator drafts a detailed line or finalizes an ink pass, the comic storyboard acts as an architectural blueprint for the entire narrative. A comic storyboard creator establishes scene composition, reading speed, character positioning, and dialogue allocation across individual pages and spreads. By resolving mechanical narrative challenges at the thumbnail stage, creators prevent costly revisions and preserve visual clarity across complex graphic narratives.
Visual Storyboarding Principles in Sequential Art
Sequential art differs fundamentally from cinematic storytelling in how an audience experiences time. In cinema, the filmmaker dictates temporal progression frame by frame, showing one image after another in a linear sequence. In comics, an entire physical page or spread is visible simultaneously. As explained in the Panel-by-Panel Guide, every panel on a comic page is visible at once, requiring the artist to design layouts that actively direct the eye rather than relying on automated temporal flow.
Because the reader can see past, present, and future beats at a single glance, comic storyboarding focuses on controlling visual attention across the sheet. A creator uses thumbnailing—small, rapid sketches drawn with stick figures and basic geometric volumes—to map structural relationships before rendering details. The resource How to Make a Comic: Free Comic Maker & Templates highlights that comics communicate narrative changes in action or location by transitioning across sequential cells. The primary objective of this rough stage is evaluating narrative coherence, ensuring that character positions do not confuse the reader and that every image communicates its intended story point immediately.
Breaking Down the Script into Narrative Beats
Translating written screenplays or comic scripts into visual panels requires a systematic breakdown process. A writer might describe a setting, multiple character actions, and several lines of dialogue in a single prose paragraph. However, a single comic panel represents a single frozen slice of time. An artist cannot depict a character entering a room, sitting at a desk, and firing a weapon within a single static panel without creative fragmentation.
According to the Mastering Comic Storyboarding Guide, creators must begin with a well-developed script and break it down into key moments, evaluating how written narrative converts into visual beats. A practical planning step involves calculating panel budgets per page. As detailed in the Tab Story Guide on Comic Storyboarding, traditional manga chapters often pace scenes across 16 to 24 pages at roughly 4 to 6 panels per page, whereas vertical webtoon episodes can run 40 to 70 total panels. Setting these scene budgets early prevents sudden narrative crowding at the bottom of a page, ensuring that each action beat receives proportionate visual weight.
Panel Architecture, Grid Systems, and Gutters
Once beats are established, creators organize them using panel architecture and grid systems. The grid establishes the visual tempo of the page. Uniform grids, such as classic multi-row layouts, offer a dependable reading rhythm suited for steady character interactions and methodical drama. In contrast, irregular or asymmetrical grids introduce tension, directing focus to specific actions through contrast in panel size.
Gutters—the white space separating individual panels—function as the engine of comic comprehension. The Panel-by-Panel Guide notes that gutters perform silent narrative work: wider gutters can signal significant transitions in time or physical location, whereas tight gutters keep action beats tightly linked. Readers perform mental closure across these gutters, constructing continuity between static frames. For instance, an illustrative example would be showing a panel of a detective drawing a revolver, followed across a narrow gutter by a panel showing a shattered window; the reader's mind fills in the gunshot and projectile impact without needing an explicit mid-air bullet frame.
Directing the Eye: Reading Flow and Screen Direction
Visual composition inside each panel must harmonize with the broader reading track of the page. In Western comics, audiences naturally read along a Z-path: moving from top-left to top-right, sweeping down and left, and proceeding to the bottom-right corner. According to Comic Panel Layout Guidelines, manga reverses this flow into a right-to-left Z-path, while vertical webtoons abandon horizontal scanning to stack beats in a single descending column.
Page layouts that violate this subconscious tracking cause reading friction. If a reader cannot tell whether to read downward into an adjacent panel or laterally across a tier, narrative engagement falters. As outlined in Professional Frameworks to Layout Comic Pages, creators must design panels that respect these ocular habits. Leading lines, character eyelines, and physical movement vectors within panels should guide the eye directly toward the next panel entrance. Furthermore, creators maintain screen direction and respect the 180-degree axis: if two characters converse, positioning character A on the left and character B on the right across alternating panels preserves spatial stability.
Camera Angles, Shot Distance, and Spatial Framing
To prevent sequential layouts from feeling repetitive, storyboard artists employ framing principles tailored for static print. Choosing shot distances is a tactical decision regarding audience empathy and spatial clarity. As highlighted in the Camera Angles for Storyboards Guide, the choice of camera angle determines how the audience perceives a character or environment, turning neutral actions into menacing, vulnerable, or balanced moments.
As explained in Camera Angles for Storyboard Artists, core shot choices include wide establishing shots, medium framing, and tight close-ups. Wide shots ground the reader in the environment, establishing geography and character scale. Medium shots handle interpersonal interaction and body language. Close-ups concentrate on facial micro-expressions or crucial physical clues. Storyboard creators vary these distances across a page to establish visual cadence: opening a tier with an establishing shot, moving to an over-the-shoulder medium shot for spoken dialogue, and resolving on an extreme close-up to underscore emotional impact.
Dialogue Blocking and Speech Balloon Placement
One of the most frequent errors in comic production is composing artwork without planning for lettering. Speech balloons, captions, and onomatopoeic sound effects occupy physical canvas space. According to Manga Speech Bubble Placement Standards, dialogue containers must be anchored to negative space along panel margins rather than layered directly over character faces or dynamic action lines. Lettering guidelines recommend capping dialogue container volume so text does not overwhelm panel art, which requires artists to block balloon footprints during initial sketching.
Lettering placement also forms a secondary reading track. The tutorial on How to Storyboard a Comic by Murphy emphasizes drawing speech balloons early so they fit organically without crowding background artwork. In Western reading order, the first speaker's balloon must sit higher and further left than the responding speaker's balloon. Crossing tail vectors—where a character standing on the right speaks first, forcing their tail across the left character's dialogue container—creates visual confusion and disrupts reading order. By blocking out rough dialogue ovals during the storyboard phase, creators ensure that balloon tails point directly to speakers while reinforcing natural page flow.
Pacing Mechanics, Splash Panels, and the Page Turn
Temporal pacing in comics is controlled by panel quantity, panel dimension, and page mechanics. Time in sequential art is spatial: smaller panels arranged in rapid succession accelerate reading speed, creating an experience of hurried action. Conversely, expanding an image across a large half-page or full-page splash forces the reader to pause, expanding temporal duration.
The physical page turn serves as the medium's natural reveal mechanism. As noted in the Panel-by-Panel Guide, the bottom-right panel of an odd-numbered, right-hand page represents a prime cliffhanger location. Placing an unresolved question, an incoming threat, or an off-panel scream in this final corner encourages the reader to turn the page. The subsequent spread or top-left panel of the even-numbered page delivers the visual payoff—such as a splash panel revealing the monster or environment. Storyboarding multi-page sequences as facing spreads allows creators to orchestrate these reveals deliberately.
Tool Selection: Paper, Digital Canvas, and AI Engines
Modern comic storyboard creators select tools based on production speed, team collaboration needs, and personal workflow preference. Traditional thumbnailing using blank paper, index cards, or printed storyboard templates remains widely practiced due to its speed and lack of digital friction. Physical index cards allow creators to physically shuffle scenes, testing structural reorganizations before finalizing page counts.
Digital raster and vector software, such as Clip Studio Paint, Photoshop, and drag-and-drop web tools, provide reusable perspective grids, panel slice utilities, and non-destructive layering. Furthermore, emerging generative storyboard engines offer rapid visual prototyping. According to the Tab Story AI Storyboarding Overview, digital and AI workflows serve as accelerators for rendering and composition testing, but creators still retain full control over panel framing, narrative pacing, and camera angles. Regardless of tool choice, the primary metric is rapid iteration: storyboard sketches must remain disposable so creators can discard weak concepts without emotional hesitation.
Reviewing Thumbnails, Correcting Errors, and Hand-Off
Before passing storyboards to pencilers, inkers, or finishing stages, the creator conducts an editorial review to identify compositional bottlenecks. Common layout issues include visual tangents (where foreground lines unnaturally align with background elements, flattening depth), repetitive eye-level camera angles across adjacent panels, and excessive dialogue density that chokes panel artwork.
As advised in the Panel-by-Panel Guide, reading thumbnails cold or testing them with an objective reader reveals where the eye stumbles or backtracks. The review process also involves verifying narrative labels: adding panel numbers, camera notes, and lighting cues to facilitate team hand-offs. The Mastering Comic Storyboarding Guide stresses that clear production notes ensure artists and colorists interpret perspective and mood accurately. Catching narrative ambiguities during thumbnail reviews ensures that final production proceeds efficiently, preserving both artistic intent and reader immersion.
Research sources
- How to Make a Comic: Free Comic Maker & Templates · www.storyboardthat.com
- How to Storyboard a Comic: A Panel-by-Panel Guide · scriptlyai.app
- Mastering Comic Storyboarding: A Complete Guide · www.katalist.ai
- How to Storyboard a Comic – Murphy · murphy.inc
- How to Storyboard a Comic: From Rough Thumbnails to Final Panels | Tab Story Blog · www.tabstory.net
- Comic Panel Layout — Golden Ratio, Flow & Pacing (Guide) | Comicory · www.comicory.com
- Professional Frameworks to Layout Comic Pages for Better Storytelling Flow | Oreate AI Guides · discover.oreateai.com
- Camera Angles for Storyboards: How Angle Changes Meaning | Story2Board Blog · story2board.com
- Camera Angles for Storyboard Artists: Complete Visual Guide · storyboardart.org
- Manga Speech Bubble Placement: The Professional Guide 2026 â Mangaka Blog · www.mangaka.app
- Speech Bubble and Comic Lettering Guides | HL Comic · hlcomic.com