Storyboard Creator
A comprehensive guide to using a storyboard creator for visual pre-production. Learn panel composition, camera notation, animatic workflows, and cross-department collaboration.
Free download · 4.9 MB11 editable slides · PowerPoint format
Download the editable PPTX
PPTX · 4.9 MB · 11 editable slides · Free to edit and reuse with attribution to Yiha.ai
View every slide
Use ← →, Home/End, or swipe on mobile
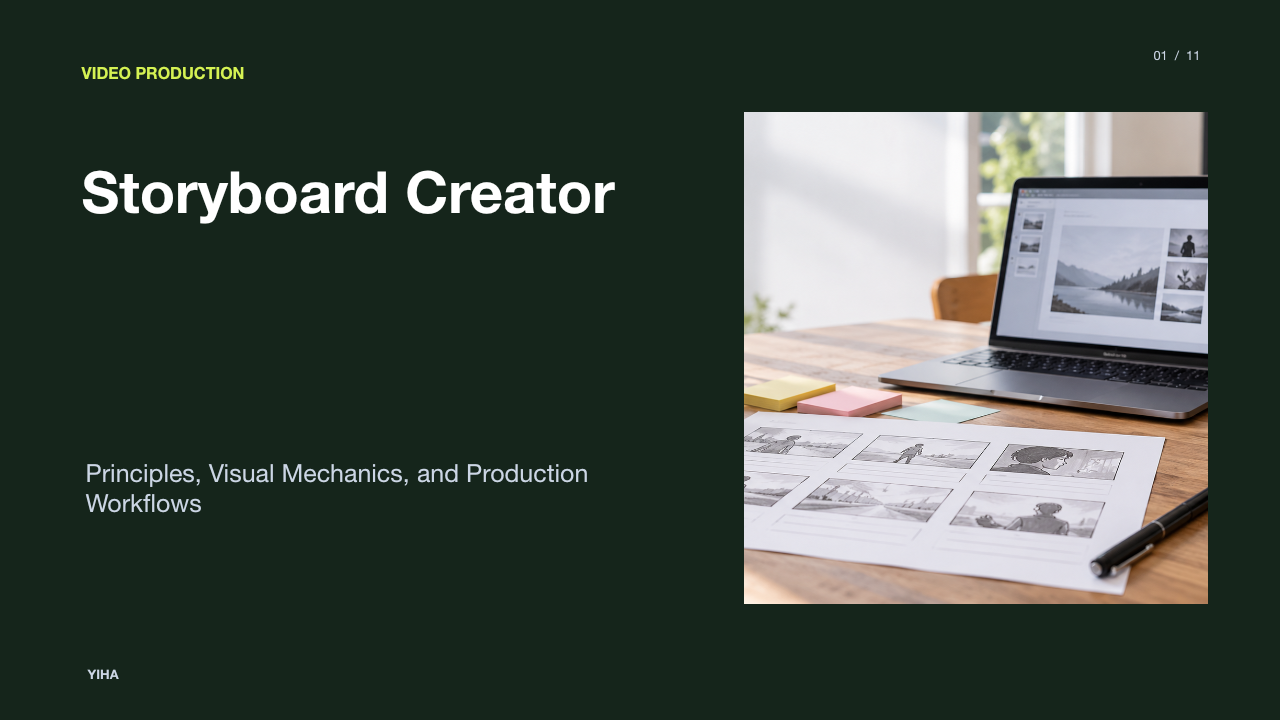
Every moving picture, whether an independent short film, commercial advertisement, or animated feature, starts as an abstract set of words on a script page. Moving from those words to recorded shots requires a translation stage where narrative beats turn into visual compositions. A storyboard creator serves as the primary system for this conversion, functioning as an architectural drawing that aligns the entire crew before costly physical or digital assets are deployed.
Developing an effective visual board is not about drafting polished illustrations. It is an engineering process that balances camera optics, temporal continuity, narrative rhythm, and logistical resources. By establishing clear visual benchmarks in advance, creative teams make key artistic and technical decisions early, avoiding the expense and confusion of improvising on set.
Visual Blueprints in Pre-Production Planning
A visual sequence breaks down a script into an ordered sequence of framing decisions, camera angles, and staging directions. As outlined in the guide on how to make a storyboard, a storyboard functions as a comic strip trial run of the finished video or film. Famed directors throughout cinema history, including Alfred Hitchcock during the planning of Psycho, relied heavily on paper blueprints to verify that complex sequences would cut together cohesively before setting foot on a soundstage.
Without a visual blueprint, technical heads of department must interpret written action descriptions independently. A screenwriter might note that a character enters a room in distress. To a cinematographer, that note could suggest a wide tracking shot emphasizing spatial isolation. To an actor or gaffer, it could imply a claustrophobic handheld close-up under harsh overhead illumination. Using a storyboard creator eliminates these conflicting interpretations by creating a single, authoritative visual reference point across the entire crew.
Platforms such as StoryboardHero highlight how pre-visualization sequences establish mutual understanding across creative directors, cinematographers, and production clients. Communicating narrative tempo through static or semi-animated frames reveals whether a scene is visually redundant or missing vital connecting geography long before cast and crew arrive on location.
Anatomy of an Effective Storyboard Panel
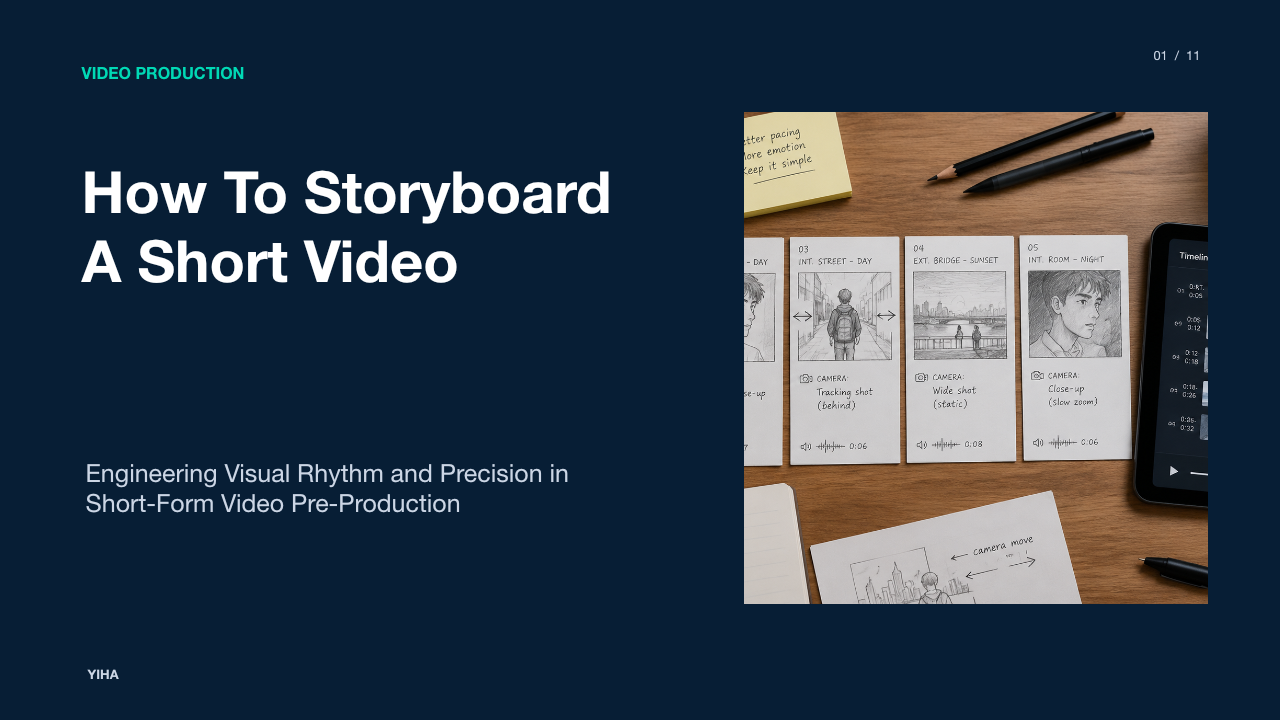
An individual storyboard panel is a modular data package, not just a standalone illustration. As documented in the storyboard template guide, an effective board must maintain the exact aspect ratio planned for final distribution. Standard widescreen theatrical productions often build within 2.39:1 or 1.85:1 frames, while digital streaming and commercial video work frequently utilizes 16:9 widescreen or 9:16 vertical mobile formats.
Every panel contains three distinct operational layers:
- The framed visual graphic, which isolates character positioning, background environment, and focal depth.
- The metadata header, which identifies the scene number, shot setup number, and panel sequence order.
- The descriptive text footer, which documents shot classification (such as extreme long shot, wide, medium, close-up, or extreme close-up), optical perspective, character action, and synchronized lines of dialogue.
Template density directly influences how easily a crew can digest the boards on set. As explained in the storyboard beginner guide, industry standard production sheets typically format around six panels per page to balance spatial resolution with sequential context. High-speed commercial edits or animation workflows may expand to eight or twelve smaller panels per page to illustrate rapid editorial cutting, while intricate action sequences require larger, lower-density panels to preserve focal clarity.
Visual Grammar and Camera Movement Notation
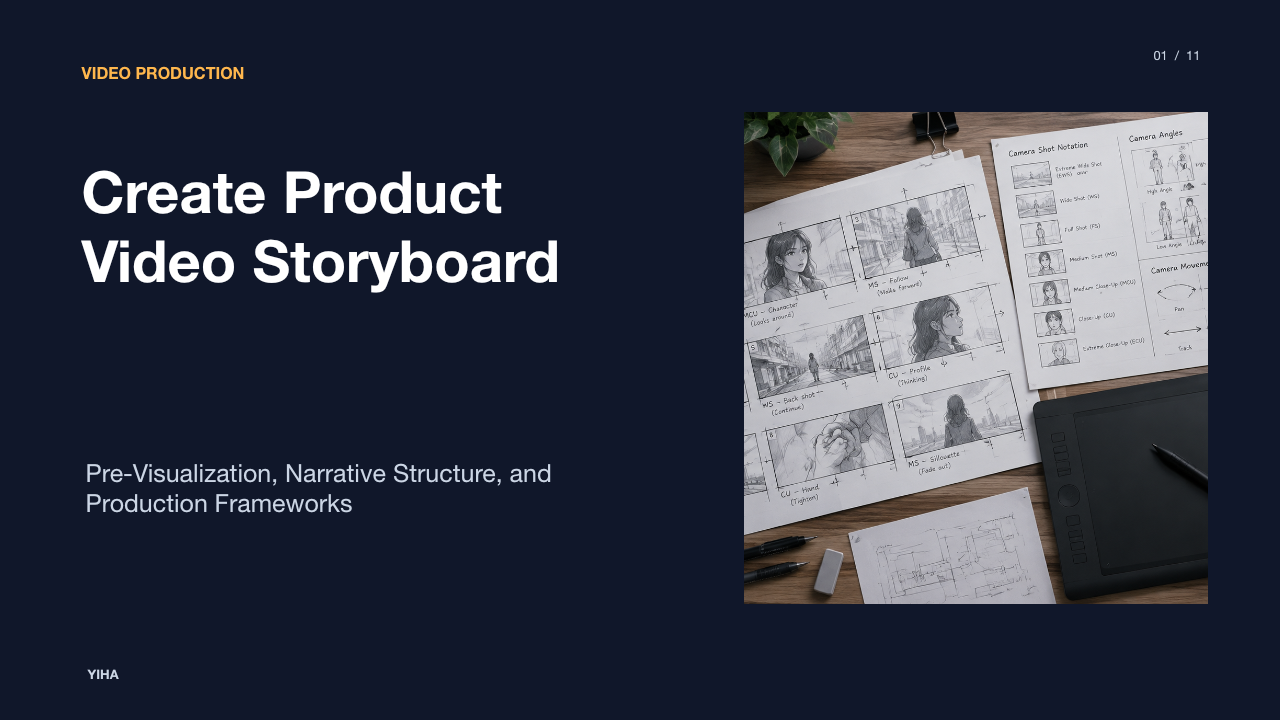
Because film is a kinetic medium, static storyboard frames must communicate movement through clear technical notation. The industry relies on standardized vector arrows and framing borders to indicate subject motion and camera displacement. According to the breakdown in how to make a storyboard, visual shorthand must clearly separate character movement within the frame from mechanical camera moves.
A single arrow placed inside a panel indicates the path of travel for an actor or object. When showing camera movement, such as a pan, tilt, track, or zoom, directors use dual-lined directional arrows or floating secondary frames. For example, to depict a camera push-in or zoom, an interior rectangle outlines the final tight framing, connected to the outer frame by inward-pointing diagonal arrows.
Maintaining spatial orientation across successive panels is critical. Storyboard creators must uphold the 180-degree rule, which establishes an imaginary axis of action between two interacting characters. Flipping camera positions across this line between consecutive panels disorients the viewer by reversing left-right eye lines. As noted in the Boords storyboarding guide, checking panels in simple silhouette helps verify whether blocking remains immediately readable without relying on detailed internal line art.
De-Risking Production Budgets and Set Operations
Physical filming involves substantial ongoing expenses, with hourly costs accumulating across crew labor, equipment rentals, location permits, and catering. Improvising camera positions on set consumes valuable shooting hours while grips re-rig stands and camera assistants swap lenses. Using a storyboard creator to map shot requirements in advance de-risks these financial exposures.
When pre-production panels clearly identify every required angle, production managers can consolidate complex setups into efficient shooting schedules. As outlined in how to make a storyboard, boards allow assistant directors and cinematographers to group all matching coverage within a given location or lighting setup, regardless of script order. If a script visits an interior office in scenes 2, 14, and 38, the crew can identify all required camera setups across those scenes from the storyboards and capture them in a single lighting pass.
Furthermore, advance framing catches missing coverage before post-production begins. As emphasized by StoryBoard Express, working out shot sequences on paper prevents costly discoveries in the cutting room, such as realizing two critical angles cannot cut together smoothly or that an essential narrative insert was omitted during filming.
The Iterative Board Creation Workflow
A professional storyboard evolves through a disciplined, progressive workflow. Jumping immediately into intricate, fully rendered artwork wastes valuable hours if narrative beats change later. As documented in the Boords storyboarding guide, the process begins with rough thumbnail sketching, traditionally referred to as scamping.
The board creation pipeline follows five distinct phases:
- Phase 1: Script breakdown. The director and storyboard artist read through the screenplay, isolating distinct story beats and marking each required shift in camera perspective, subject focus, or staging.
- Phase 2: Rough scamping. Quick thumbnail sketches using loose geometric shapes and stick figures establish basic framing and screen direction. This phase focuses entirely on editorial flow and visual clarity rather than aesthetic detail.
- Phase 3: Visual refinement. Once the progression of shots is locked, artists refine key poses, clarify perspective depth, and clean up compositional lines.
- Phase 4: Technical annotation. Below each panel, the team records exact camera package data, including focal length estimates, camera movement directions, lighting conditions, and dialogue lines, following the standards described in the storyboard beginner guide.
- Phase 5: Team review and revision. Heads of department inspect the sequence, adjusting setups for practical constraints before publishing the shooting draft.
Comparing Manual Methods and Digital Platforms
Filmmakers choose between traditional paper sketching and digital storyboard tools based on project speed, budget, and distribution needs. Traditional paper templates remain an accessible, tactile starting point that requires no power or software licensing. However, as noted in the Boords storyboarding guide, paper layouts become unwieldy during major revisions. Inserting an establishing shot between panels requires redrawing or manually cutting and re-pasting physical cards.
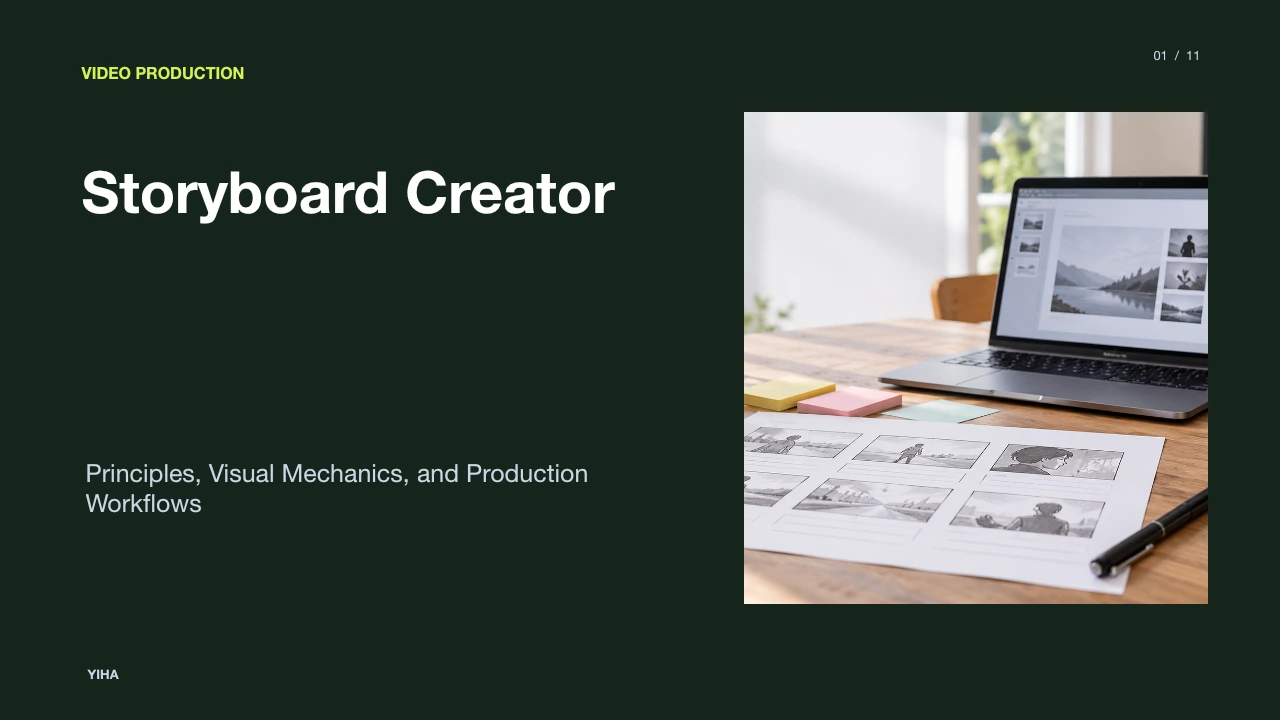
Modern digital tools, such as the browser-based platform reviewed by Krock.io, provide non-destructive editing capabilities. Production leads can drag and drop frames to test new editorial arrangements instantly, adjust timing annotations, and generate clean PDF deliverables with standardized metadata fields. Cloud platforms also enable concurrent review, allowing remote clients, directors, and cinematographers to comment on individual frames.
While software automates framing borders and simplifies sharing, it introduces its own trade-offs. Digital libraries with pre-built stock assets can sometimes result in stiff, generic compositions that fail to capture the authentic blocking of a live set. The most practical workflow often combines both: starting with loose hand-drawn scamps on paper or a digital tablet, then importing those sketches into a structured management tool to organize metadata and distribution.
Transforming Static Frames into Animatics
Even a well-drawn storyboard cannot fully communicate the dimension of time. A static panel cannot indicate whether an emotional pause lasts one second or eight seconds, or whether a dialogue exchange feels rushed. To resolve this temporal limitation, production teams convert static frames into animatics.
An animatic takes individual storyboard panels and arranges them on an editing timeline at their intended running duration. As detailed by StoryBoard Express, teams import sequence panels into timed playback engines, adding rough camera moves like digital pans or push-ins to simulate final framing shifts. Editorial teams sync these visual sequences with temporary voice recordings, scratch sound effects, and reference score tracks.
Running an animatic exposes editorial problems that are invisible on printed pages. A sequence that looks dynamic across six printed panels might drag when played back over thirty seconds of screen time. Conversely, a complex action exchange may require intermediate coverage to remain intelligible at full speed. Validating scene tempo in an animatic ensures the production crew only shoots footage that directly serves the final edit.
Technical Pitfalls and Over-Engineering Risks
A storyboard is a functional operational guide, not an independent gallery piece. A common failure mode among emerging filmmakers is over-illustrating frames while neglecting technical accuracy. As highlighted in the storyboard beginner guide, spending hours adding fine rendering, clothing textures, and detailed facial shading becomes counterproductive if the director alters the scene blocking or eliminates the shot entirely.
A more serious structural failure is framing storyboard panels with impossible optical perspectives that real camera lenses cannot capture on set. An artist might draw an ultra-wide background while rendering a subject in sharp, undistorted close-up perspective, a shot that cannot be achieved with standard camera optics without complex multi-exposure digital compositing. When the camera crew sets up on location, they find themselves unable to reproduce the storyboard layout.
Teams must also avoid using storyboards as rigid creative straightjackets. While boards provide an essential operational baseline, directors and cinematographers must remain flexible enough to adapt to spontaneous creative opportunities, such as shifting weather conditions, natural actor impulses, or unexpected architectural framing options on location.
Integrating Storyboards into Department Hand-Offs
Once locked, storyboards serve as the central visual reference across every physical and post-production department. As explained in the guide on how to write a storyboard, production coordinators distribute customized, color-coded copies to different departments so each team can extract the specific information they need for their preparations.
- Cinematography and Grip: The director of photography uses panels to calculate lens packages, camera support needs (such as dollies, cranes, or steadicams), and lighting setups. Key grips examine framing boundaries to position flags and support rigging out of the camera's sightlines.
- Art Department and Wardrobe: Production designers evaluate each frame to determine set construction boundaries and visible decor. Wardrobe supervisors check character action cues to prepare costume duplicates for stunt-heavy or messy scenes.
- Visual Effects (VFX): VFX supervisors use storyboard annotations to flag planned green screen extensions, wire removals, or CGI creature placements, ensuring background plates are recorded with matching focal lengths and lens heights.
- Editorial and Post-Production: Sound designers use dialogue notes to plan atmospheric soundscapes, while editors use the original sequence as an initial structural roadmap when assembling daily rushes.
Using a storyboard creator to coordinate these department hand-offs ensures that the entire production moves from initial concept to final export with shared creative clarity and operational efficiency.
Research sources
- Storyboard Creator: Create Professional Storyboards With AI | StoryboardHero · storyboardhero.ai
- How to Make a Storyboard: Ultimate Step-by-Step Guide · www.studiobinder.com
- Free Storyboard Tool | Create storyboards from video, images, and drawings · www.storyboard-express.com
- Storyboard Template Guide: Formats, Sizes & Free Downloads [2026] · www.drawstory.ai
- How to Storyboard: A Complete Beginner's Guide for Filmmakers · www.drawstory.ai
- How to Storyboard: Step-by-Step Storyboarding Guide (2026) | Boords · boords.com
- Free storyboard creator — unlimited frames, no sign-up · krock.io
- How to Write a Storyboard | Free Step by Step Guide [2026] · www.studiobinder.com